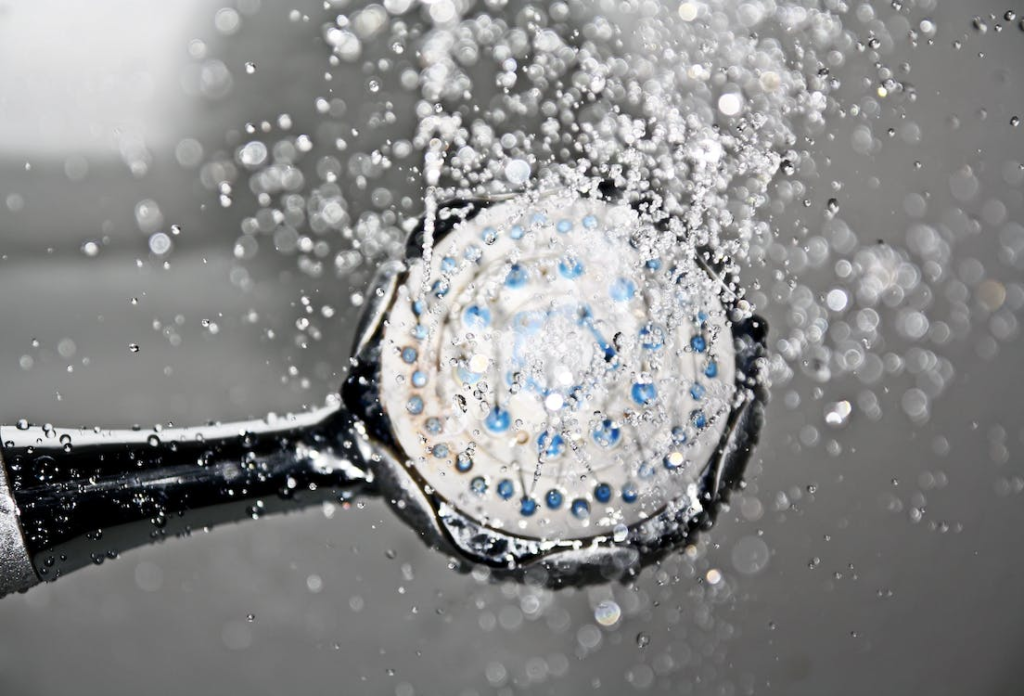
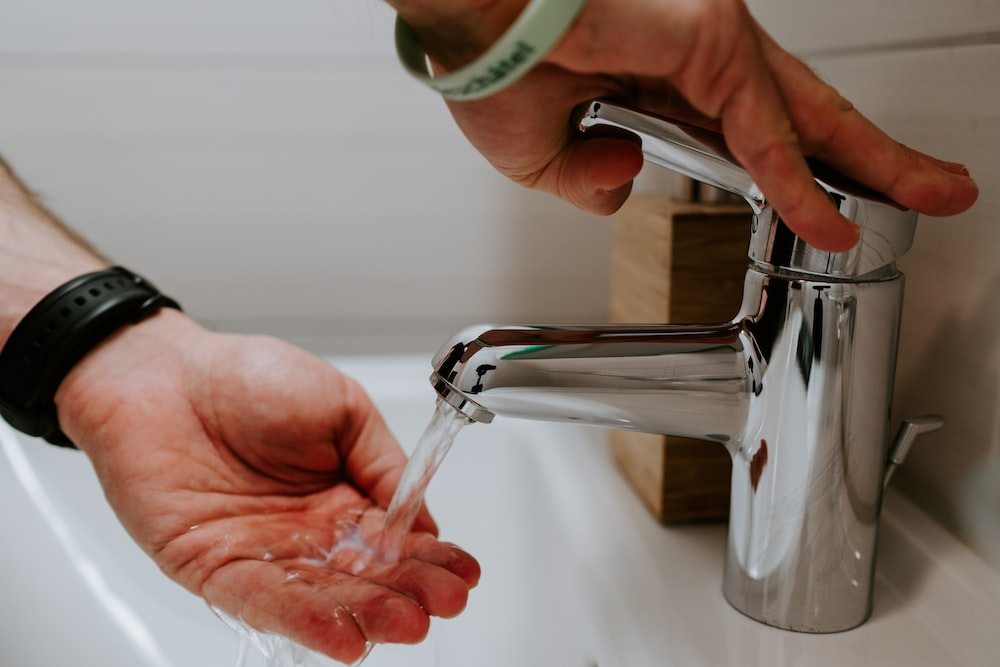
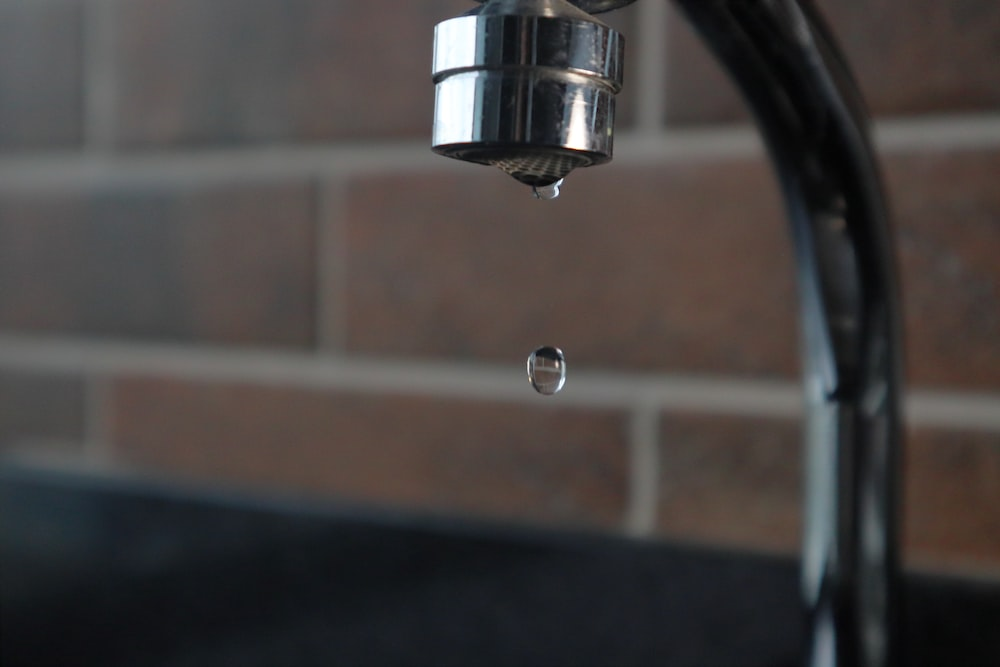
Water is one of the most essential resources on our planet, and for many, it’s readily available with a turn of a tap. But when that tap starts to drip, drip, drip without end, it’s not just water going down the drain. Your hard-earned money might be dripping away too, drop by drop.
This blog post highlights the significance of timely faucet repairs to prevent unnecessary water wastage, potential damage, and of course, unexpected hikes in your monthly water bills.
The True Cost of a Dripping Faucet
Did you know that a leaky faucet can waste as much as 3,000 gallons of water in just one year if left unfixed? That’s enough water for over 180 showers! This kind of wastage impacts the environment and adds significant figures to your water bill over time.
- Environmental Impact: Clean, treated water requires resources to produce. Wasting it means we’re also wasting energy and increasing our carbon footprint.
- Financial Impact: Those few drips might not seem like much daily, but the financial implications can be significant over a month or a year. The Environmental Protection Agency (EPA) states that fixing simple household leaks can save homeowners about 10% on their water bills.

Beyond the obvious water waste, there’s another lurking danger with leaky faucets: potential damage to your home.
Potential Home Damage from Leaks
· Water Damage
Continuous water exposure can damage your sink, countertops, and even the underlying structure. Over time, this could lead to mold growth, which poses health risks and can be expensive to remove.
· Lower Home Value
Persistent leaks can lower the value of your home. When potential buyers notice leaks, they may wonder what other maintenance tasks have been overlooked.
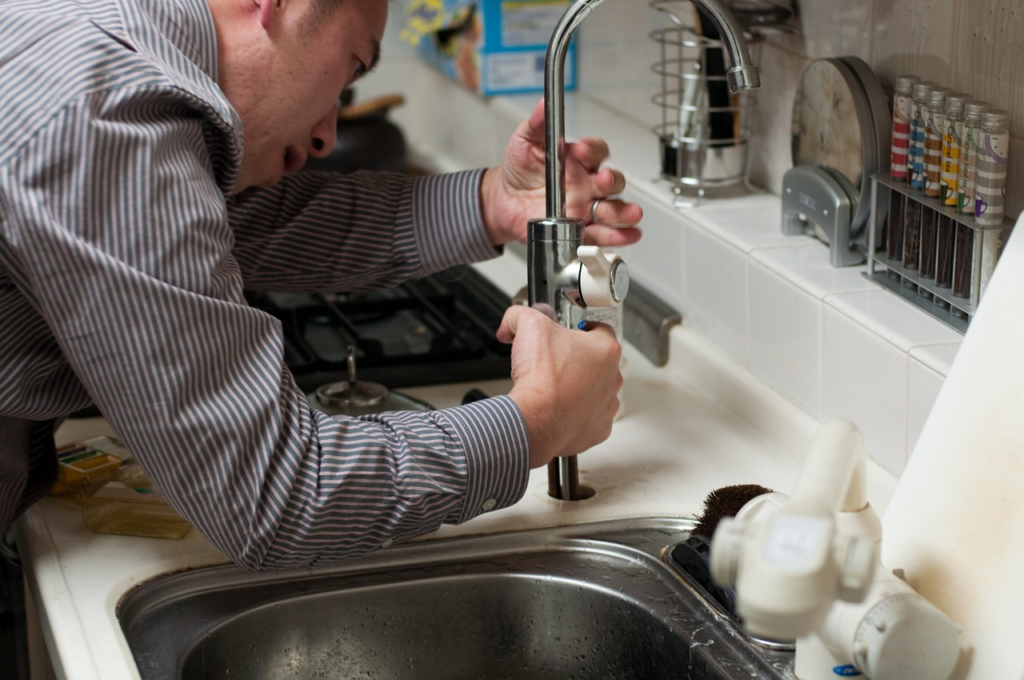
Taking Matters into Your Own Hands
Thankfully, fixing a leaky faucet might be a manageable task, especially if you consider yourself “handy.”
1. Identify the Type of Faucet
There are four main types of faucets – compression, ball, cartridge, and ceramic disk. Identifying your faucet type is the first step in understanding how to fix the leak.
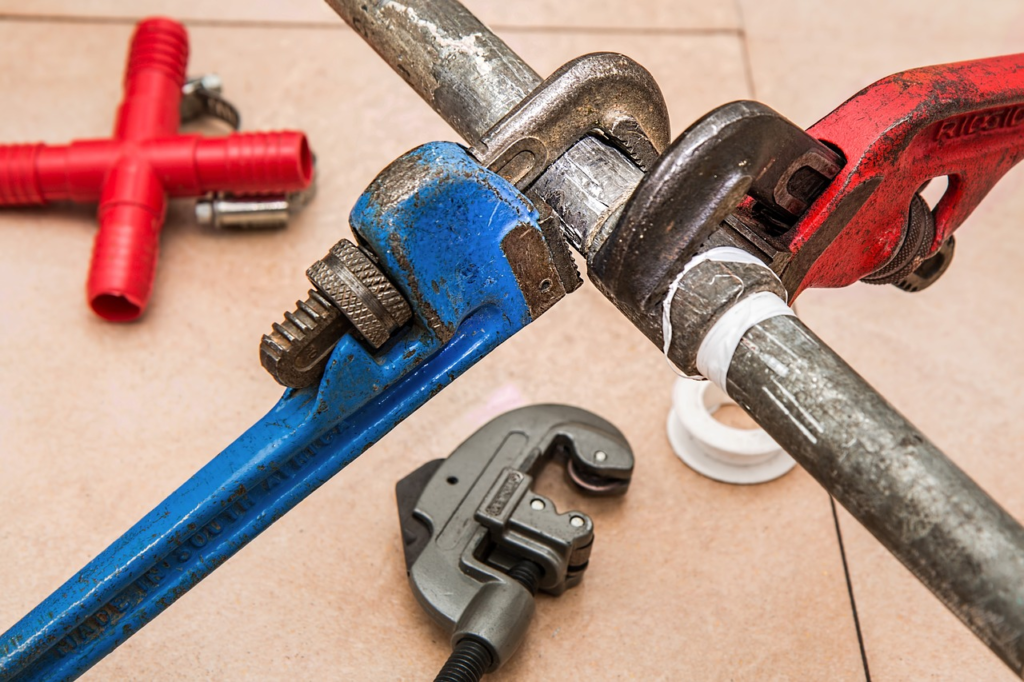
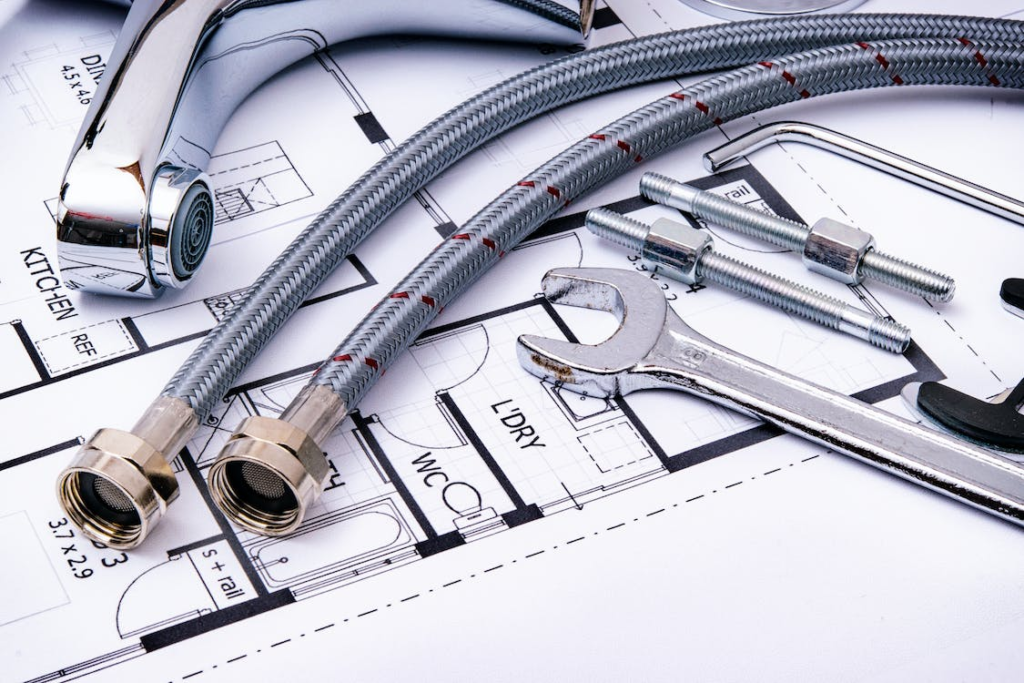
2. Gather Your Tools
Depending on the type of faucet, you might need a wrench, screwdriver, replacement parts like washers or O-rings, and plumber’s tape.
3. Turn Off the Water
Before you start any repairs, always turn off the water supply. This prevents any unintended mishaps and potential water messes.
4. Repair the Faucet
With your tools ready and the water supply turned off, you can now fix the faucet. Plenty of online tutorials and guides can provide step-by-step instructions based on the type of faucet you have. However, if you’re unsure what to do, it’s better to call a professional.
5. Test
Once repaired, turn the water back on and test the faucet. Ensure there are no leaks and that the faucet is functioning as it should.
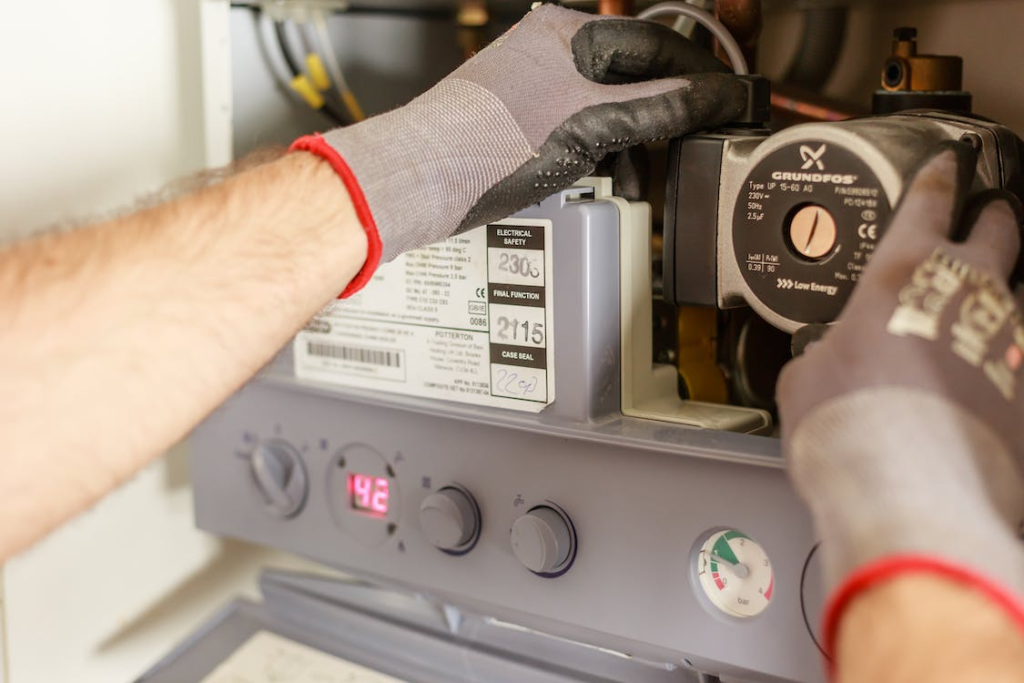
When to Call a Professional
Sometimes, despite our best efforts, the problem might be beyond a simple DIY fix. If you’ve tried repairing the faucet and the leak persists, or if you notice the leak getting worse, it’s time to call in a professional plumber in Germantown. They will have the expertise and tools to address the issue correctly and efficiently.
A leaky faucet might seem like a minor annoyance, but its implications are far-reaching. By addressing faucet repairs promptly, you’re not just saving water and money; you’re also ensuring the longevity of your home and contributing positively to the environment. Nevertheless, if you have a leaky faucet and you want to get it fixed, then Your 1 Plumber can help with it.
Our company is renowned as the number one plumbing company in Maryland. At Your 1 Plumber, we prioritize your satisfaction, offering a full money-back guarantee. We’re known for going above and beyond to address our customers’ issues, tailoring solutions to their specific needs and budgets. Our wide range of services includes water line repairs, water heater replacement, toilet replacement, and more.
Our wealth of knowledge and experience sets us apart, and our customers value the respect we have for their time and homes. Furthermore, with our transparent pricing, there are no unexpected costs. Couple that with our promise of same-day service, and it’s a matchless offering. Contact us today, and let us take care of your faulty faucets.