Finding the perfect tap for your kitchen or bathroom is like unearthing a treasure; it not only improves the practicality of your home but also adds a touch of aesthetic appeal. The ideal tap will look beautiful and go well with your existing design and make your daily life easier.
However, it’s easy to feel overwhelmed when faced with seemingly endless options, styles, and types of faucets.
But if you know what you want and have some help, you may pick something that fits in with your interior design and improves the experience.
Your 1 Plumber offers bathroom and kitchen faucet installation services in Maryland areas. We have been providing these plumbing services for over 15 years with a team of trained technicians.
Here are some questions you should consider when choosing the perfect faucet for your kitchen or bathroom.
Question#1: What Are Your Requirements?
Evaluate your requirements first before exploring the many tap options available. Consider whether you want a type of tap, how many holes you have in your sink or countertop, how you’ll mount it, etc. If you know what you need, you can immediately discard several options.
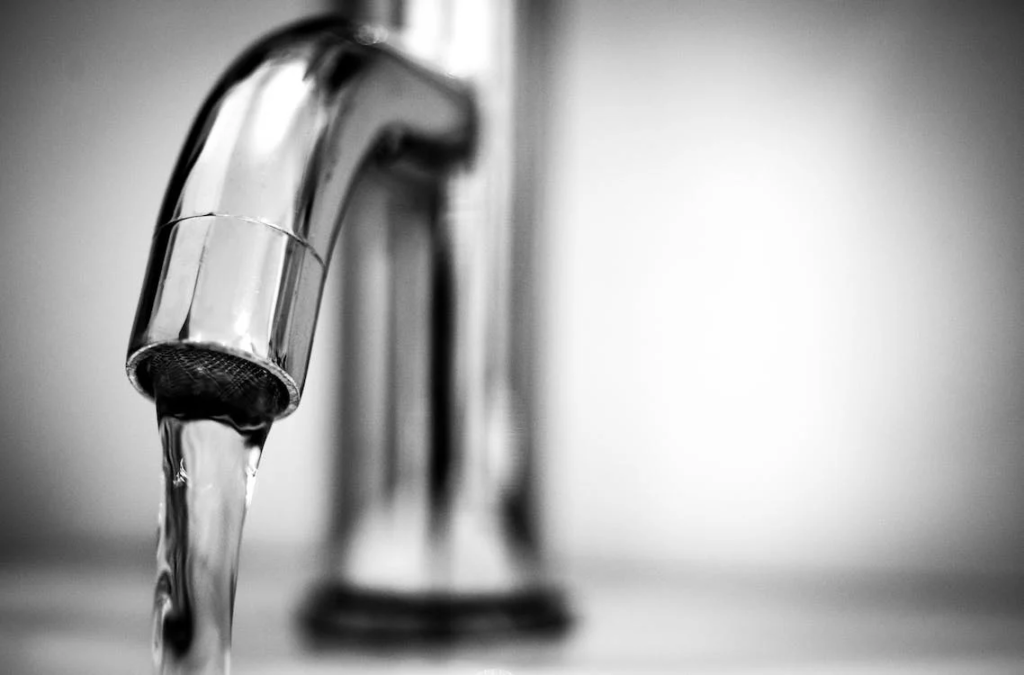
Question#2: What Are The 4 Common Types Of Faucets?
You can pick from a variety of tap styles, such as:
1. The Single-Handle Faucets:
The single handle on these taps regulates both the water pressure and temperature. They move sideways as well as upwards and downwards for pressure and temperature. They are simple to use and work well with clean, modern layouts.

2. Compression Faucets:
These are more conventional faucets with individual hot and cold water knobs. Turning the knobs restricts or opens the water supply by applying pressure on rubber washers. Compression faucets are sturdy but tend to leak after some time, and you may need to replace the washers frequently.
3. Ball Faucets:
Another type of faucet is the ball faucet. A single lever on a ball tap regulates water temperature and flow. A metal or plastic ball inside the tap spins between hot and cold water compartments. These fixtures are well-liked due to their long lifespan and user-friendliness.
4. Disk Fauects:
Ceramic discs are used in disc faucets to regulate water temperature and flow. They are long-lasting and waterproof. Disc faucets are practical and aesthetically pleasing because of their minimalist form and few moving parts.
Question#3: What Is The Height And Reach of Your Spout?
After settling on a tap style, it’s time to think about the spout’s reach and height. These are especially crucial factors to think about during kitchen faucet installation. If you need space to fill large pans, go for a higher spout, and ensure it reaches the middle of the sink for maximum convenience.

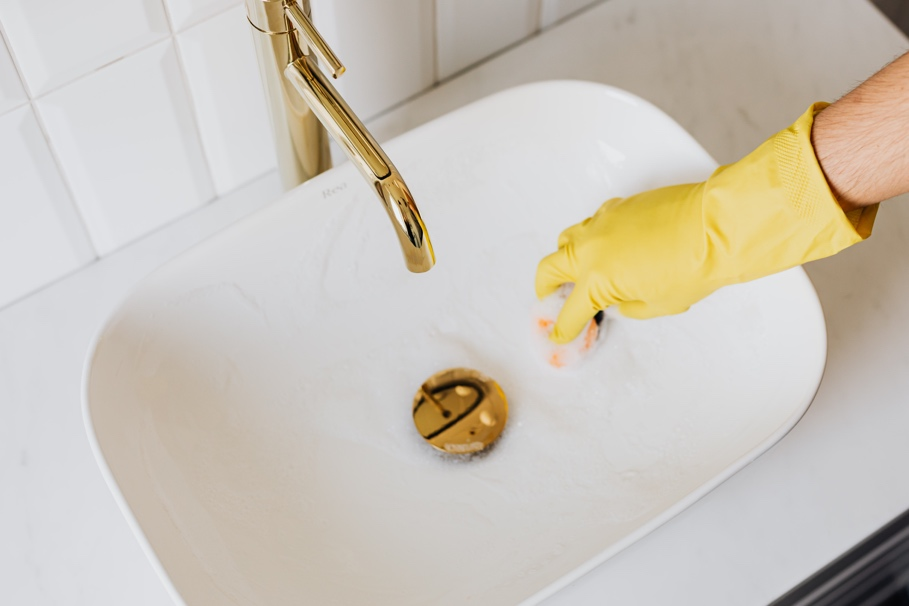
Question#4: Do The Faucet Finish Align With Your Overall Aesthetics?
You may get faucets in various materials and coatings, including stainless steel, nickel, brass, bronze, and chrome. Pick a finish that fits the general aesthetic and works well with your existing fixtures.
Question#5: Are The Service and Quality Guaranteed?
Choose a tap from a trusted manufacturer that stands behind its product. After all, there is a correlation between the quality of a tap and how long it lasts before needing repairs.
Your 1 Plumber Offers A Variety Of Faucets
Your 1 Plumber has a team of highly-skilled and licensed plumbers in Germantown, Frederick, Silver Spring, Columbia, and other Maryland areas offering new faucet installation and replacement services.
You can choose from the different types of faucets and be assured of our plumbing installation services with a 100% money-back guarantee and parts and labor warranties.
So, contact us today and transform your space with a modern, top-quality faucet.