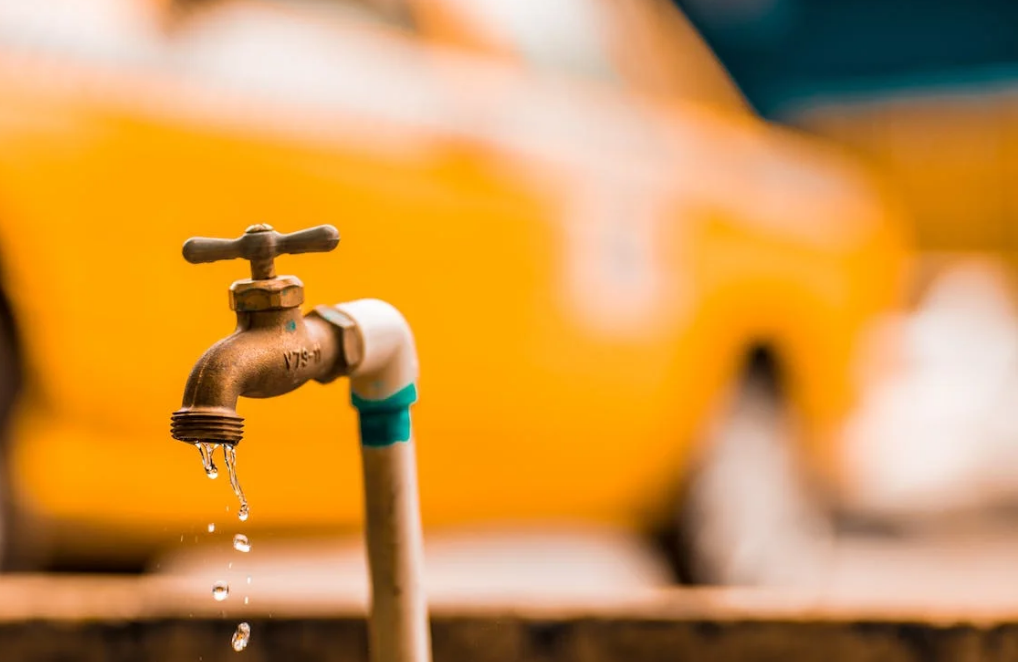
An average American family uses around 300 gallons of water per day. Our plumbers in College Park, MD, know that maintaining the underground pipeline from the main street to your home is your responsibility. We offer a thorough water leak repair strategy to control hefty water bills.
The leading reasons your water bill may have spiked include the following:
Leaky Toilets
Huge puddles around toilet bases are signs of a leaky toilet. A leaky toilet isn’t just a hygiene concern; it also badly damages the flooring and the bathroom walls. A leaky toilet can waste 200 gallons of water per day. You can detect a running toilet through the following measures:
- Drip some food color into the toilet tank and let it sit. If the color shows up in the bowl, your toilet is leaking.
- Listen carefully for a dripping sound near your toilet. If you can hear the water flowing, your toilet is probably leaking. Inspect the toilet tank and the water line connections for a possible leak.
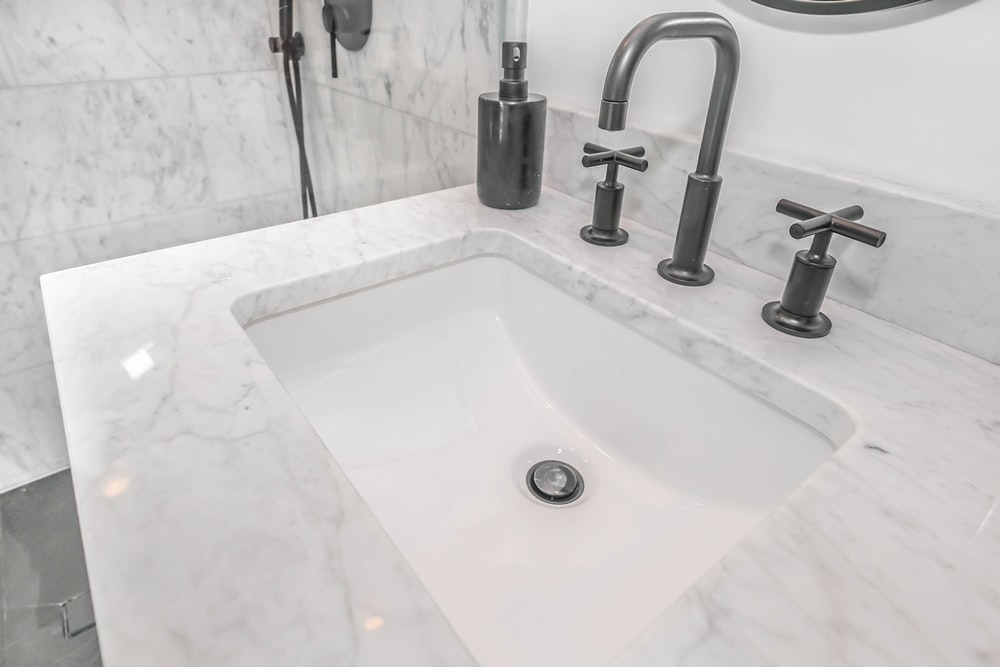
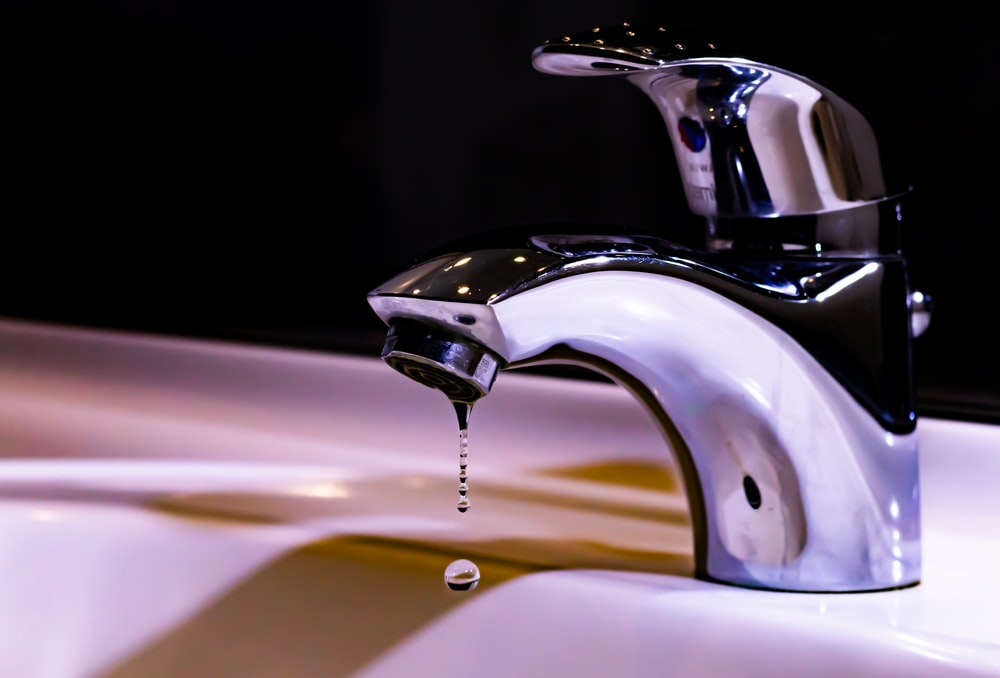
Leaky Bathroom Fixtures
Another major reason for an unreasonable water bill is leaky faucets. Some faucet leaks are quite obvious. If the faucet leaks when it’s turned off, it’s leaking from the spout. If your water meter shows a sharp increase in water consumption, immediately inspect your faucets for a possible leak. Our plumbers in Germantown offer same-day services for water leak emergencies. This is the only way to control high water bills due to water consumption.
Leaky Household Equipment
Sometimes, an everyday-use appliance like your washing machine or the dishwasher may secretly consume all your household water. Your washing machines and dishwashers are susceptible to leaks. Inspect the dishwasher and the washing machine if you see water pooling around the equipment. Check the door seals for droplets of water.

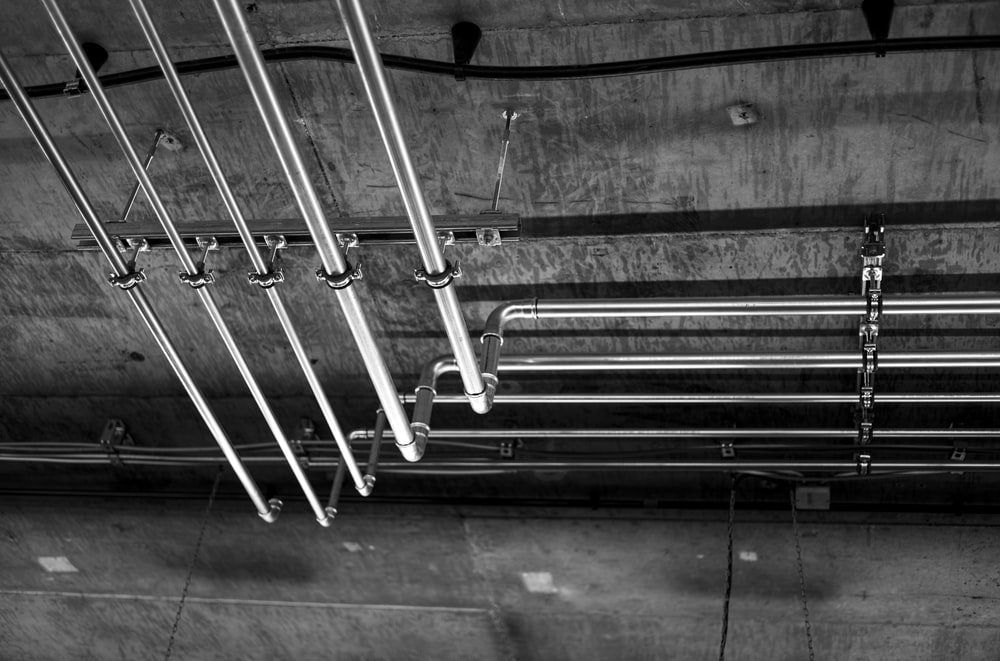
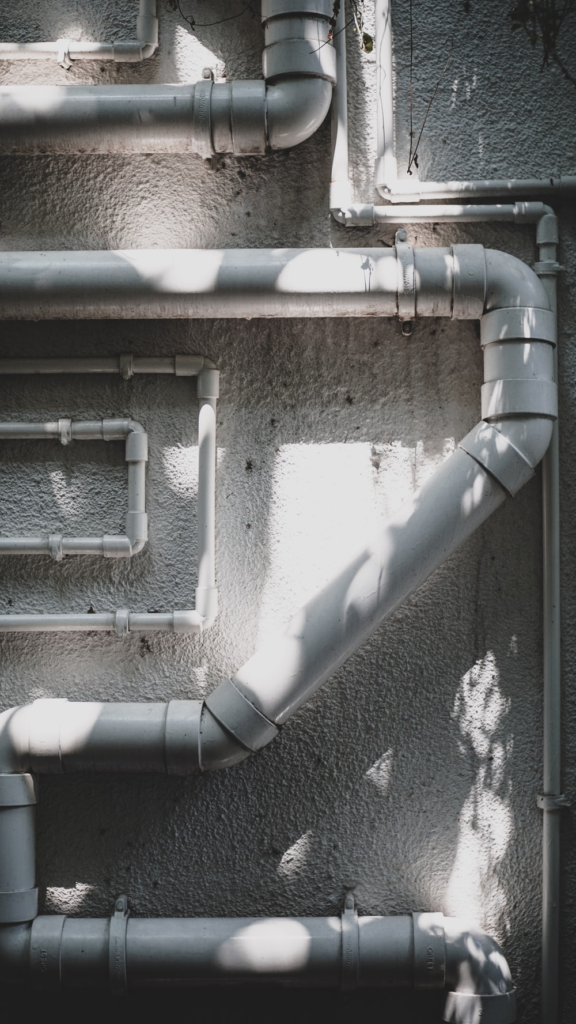
Leaks in Lateral Pipelines
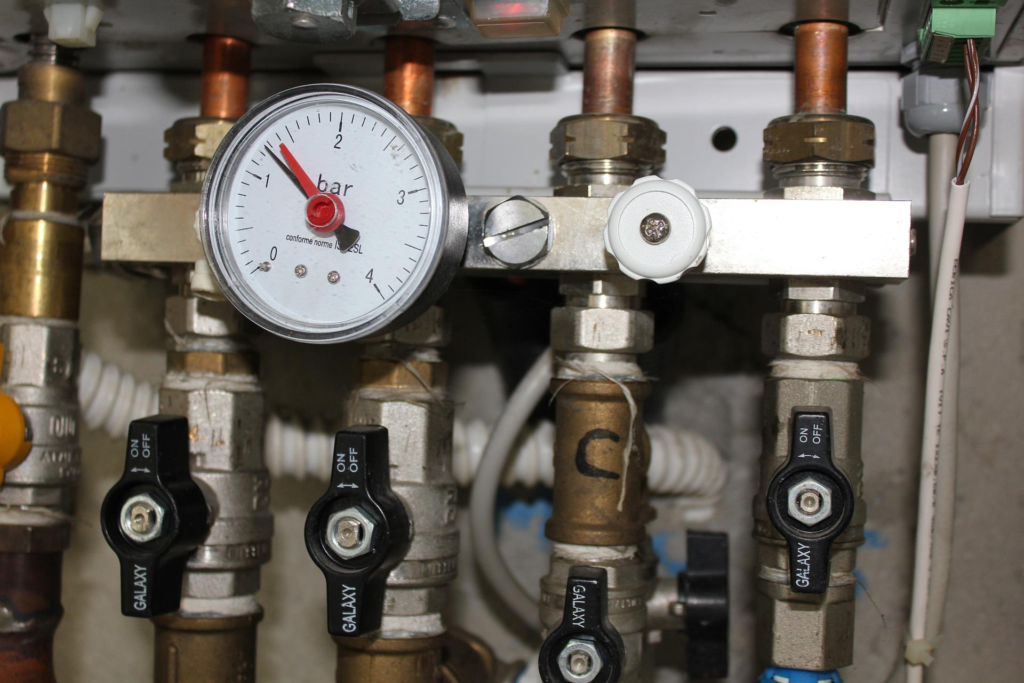
At times, underground pipelines feeding water from your water connection may have a crack. In old homes, these water pipelines are also susceptible to rust. Factors like tree root intrusion may also contribute to pipe weakening.
A major impediment here is that underground pipe leaks are difficult to detect. Advanced plumbing tools are needed to inspect and locate an underground pipe leak.
Your 1 Plumber for Water Leak Repair
Our services specialize in water service repairs and replacements from the water mains to your home without total yard excavation. We’re a licensed plumbing service serving Maryland for several years now. You can also rely on us for plumbing installation and kitchen faucet repair services in Germantown. Call us at 3015407586 to save on your water line replacement costs.